


Here's how you can deploy kali on AWS for free under the free tier (for a year). as long as you stay under the usage guidelines. I did this so I could have a quick and dirty VM I can make use of when I'm not at my desk! Lezgo!
Prerequisites
- Free verified AWS account
Deployment
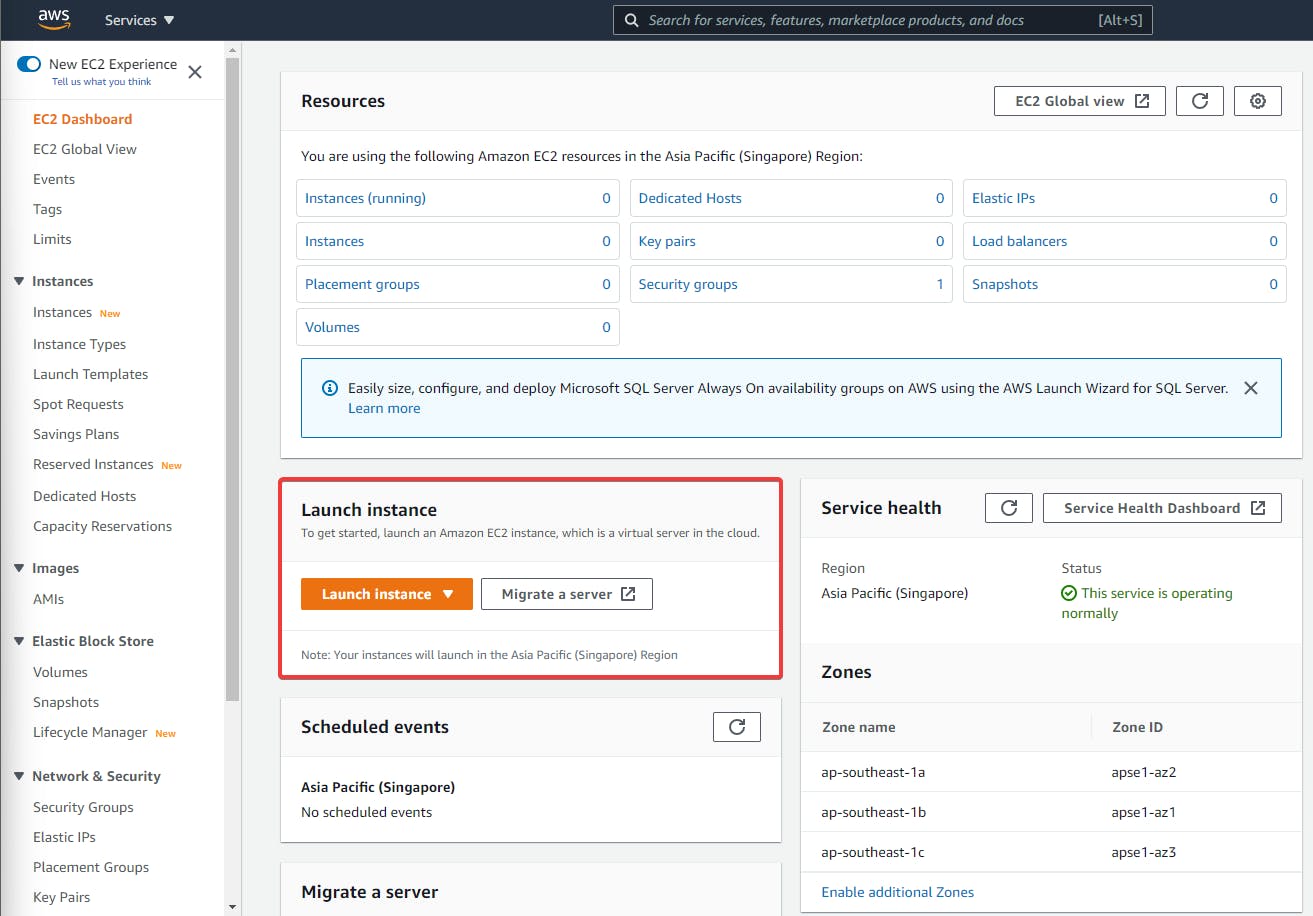
Head to the AWS Management Console and search for EC2. EC2 is amazon's version of a VPS.

Once there, hit Launch Instance on the dashboard as shown below.
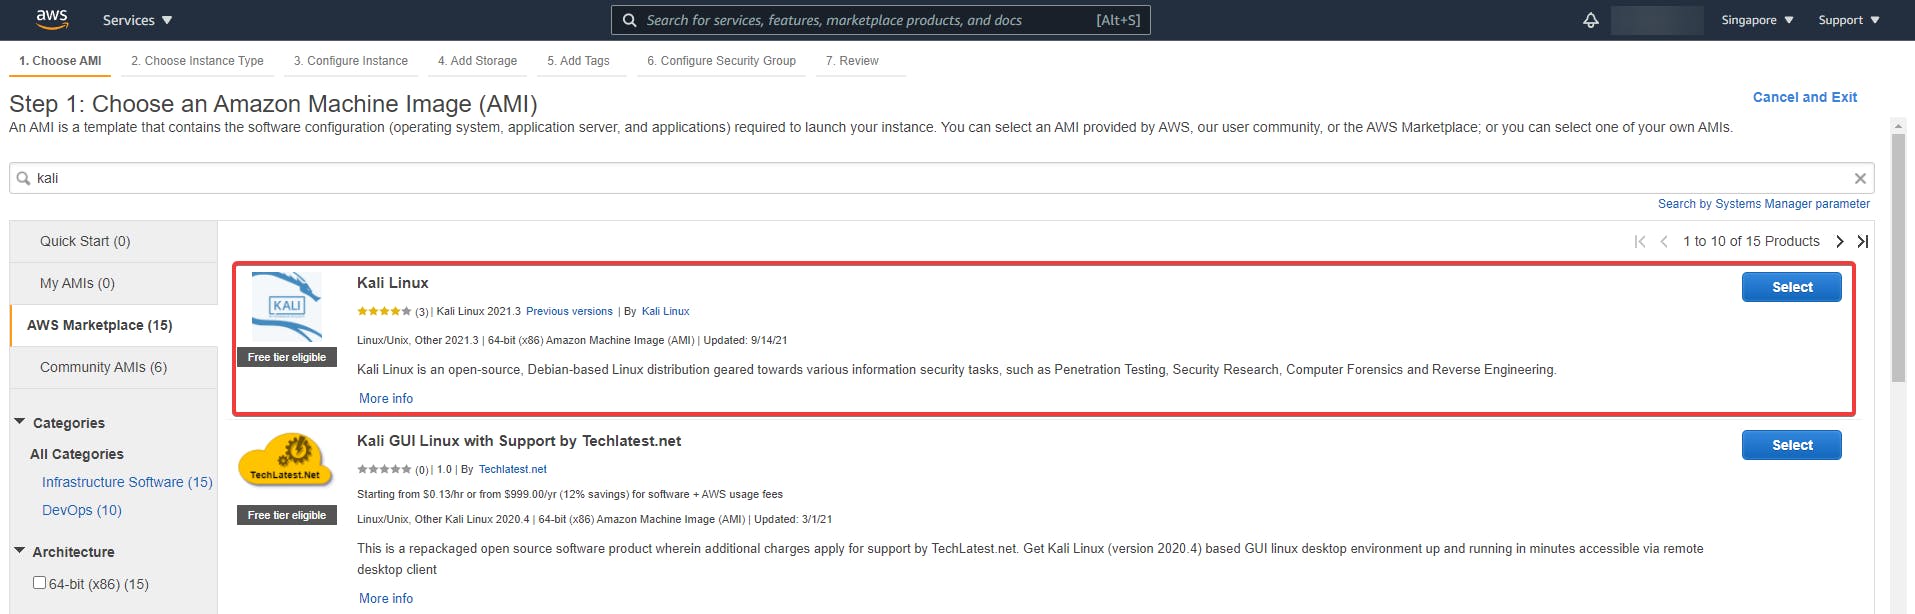
Next hit AWS Marketplace. This would show us a list of "ready to deploy" VMs that we can choose from.
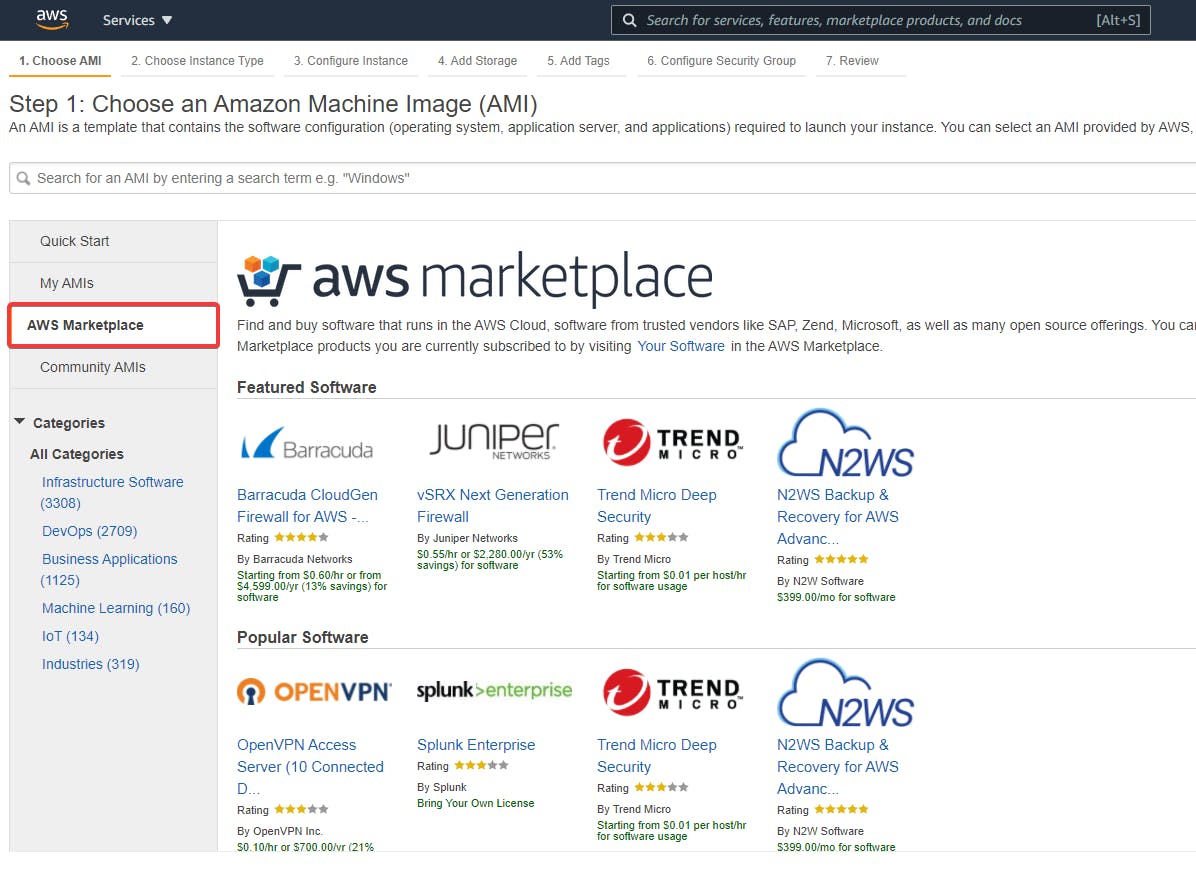
Then, search for kali and hit select. Make sure you select the option that says Free tier eligible.
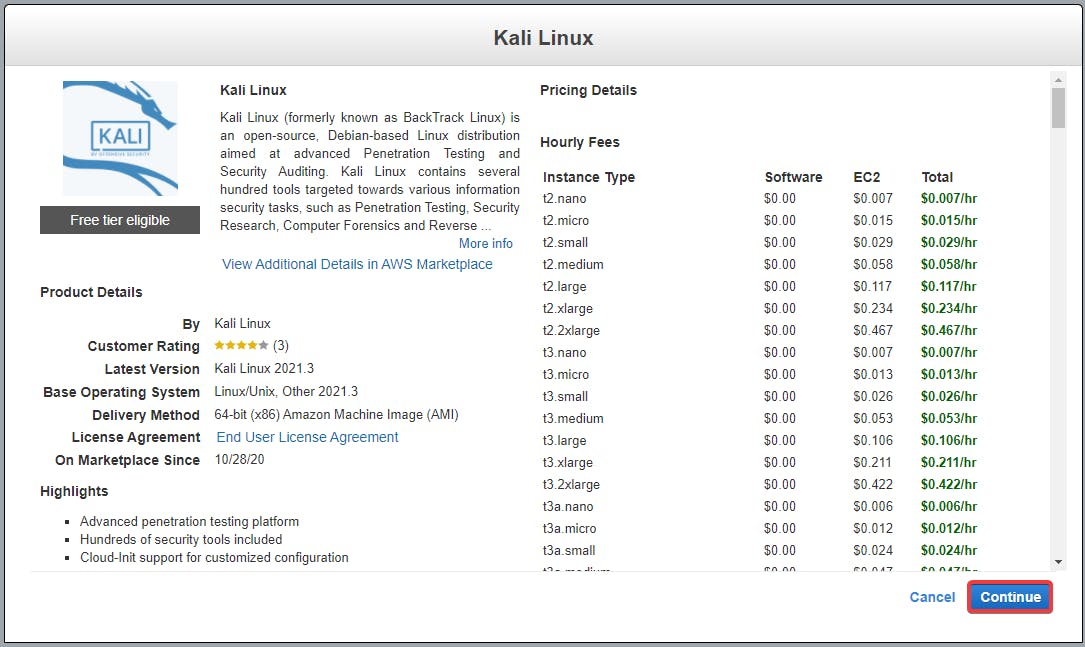
Once selected and verified, hit continue.
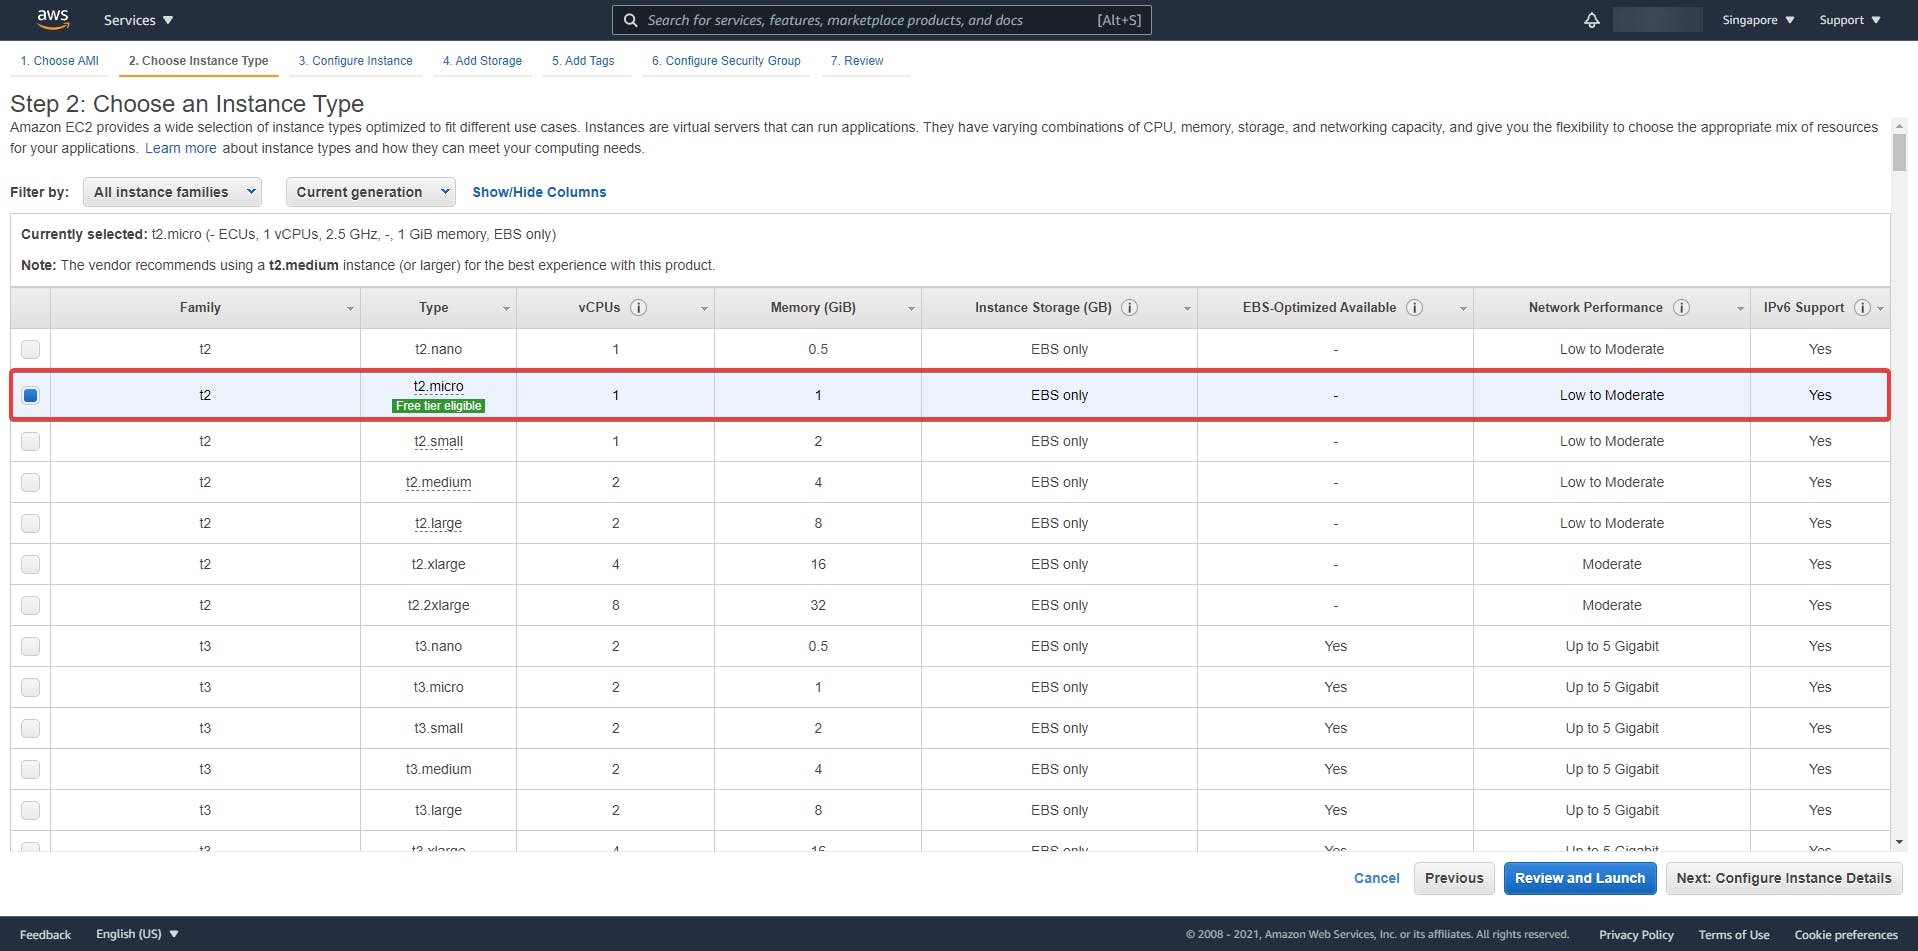
At the Instance Type page, make sure to choose t2.micro which lets us use the free tier.
[OPTIONAL] Configure the Security Group to your liking. I'm adding a rule to allow all traffic as this machine will be behind a proxy for my use case.
Type - All traffic => any traffic flow in or out of the VM Protocol - All => Any kind of traffic going to or coming from the VM Port Range - 0-65535 => Allow all ports Source - 0.0.0.0/0 => Rules with source of 0.0.0.0/0 allow all IP addresses to access your instance

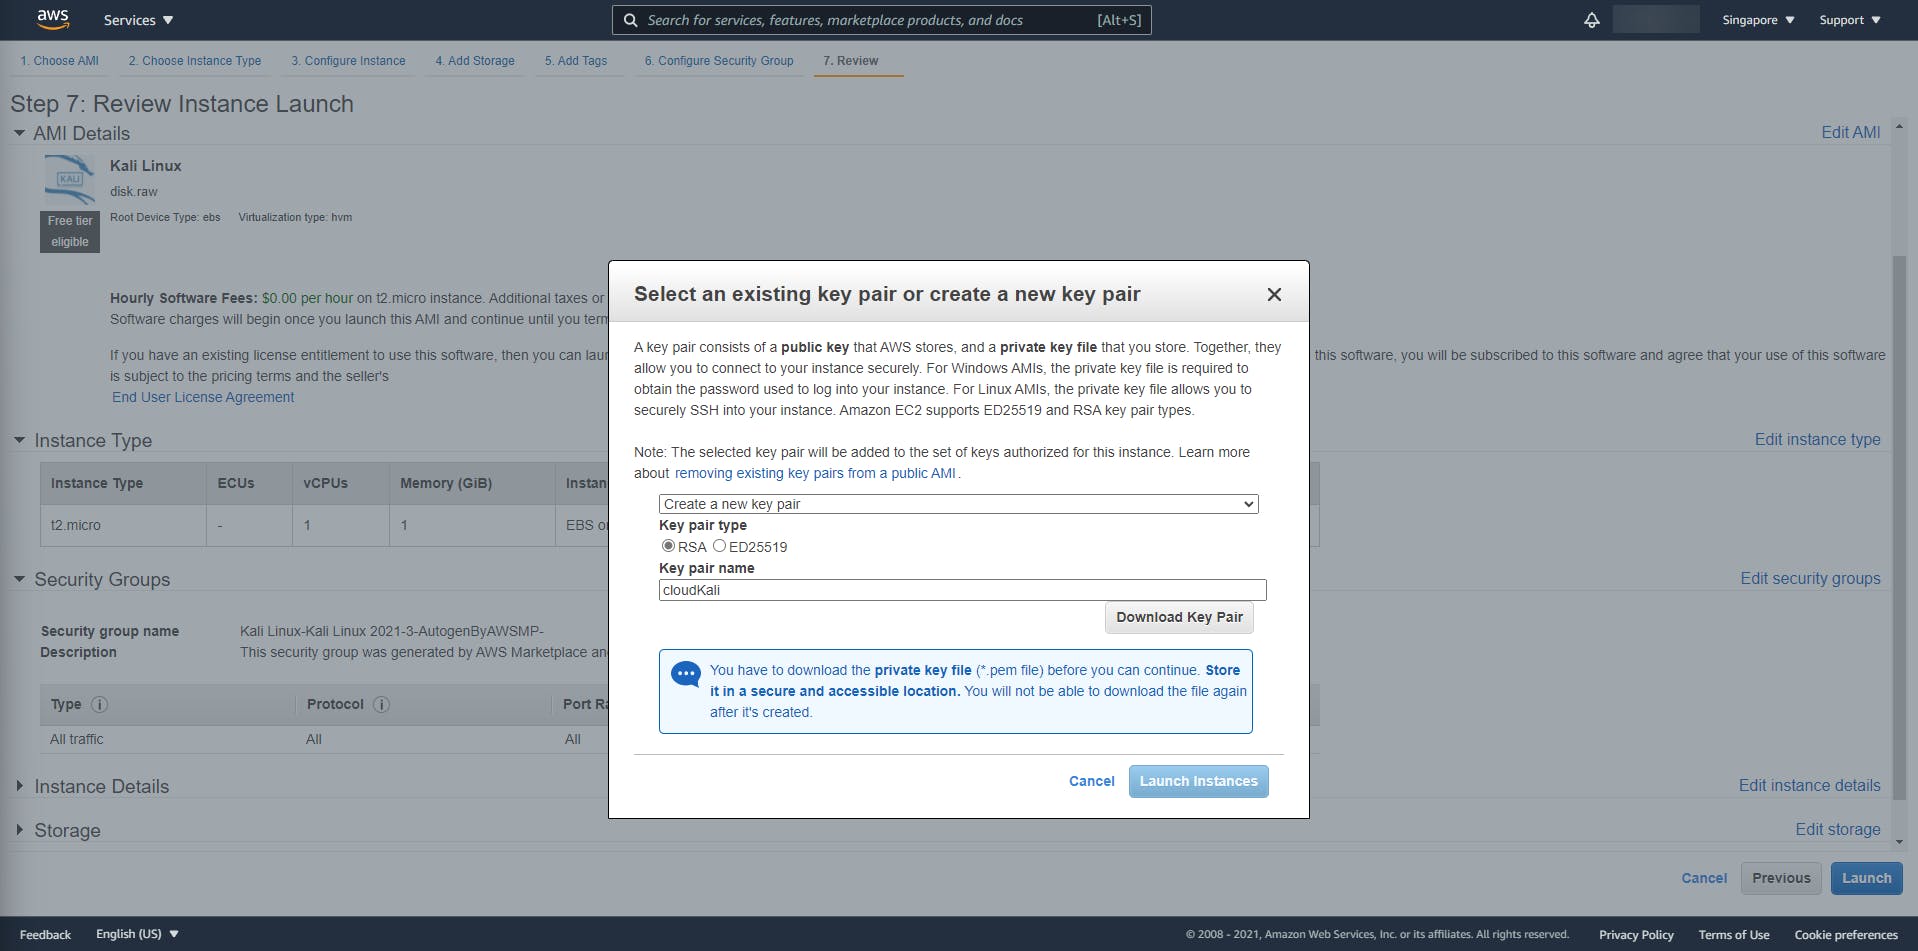
Once configured, hit Review and launch. AWS will require you to create a new ssh key pair to deploy the machine. Once created, remember to download the keypair before proceeding.
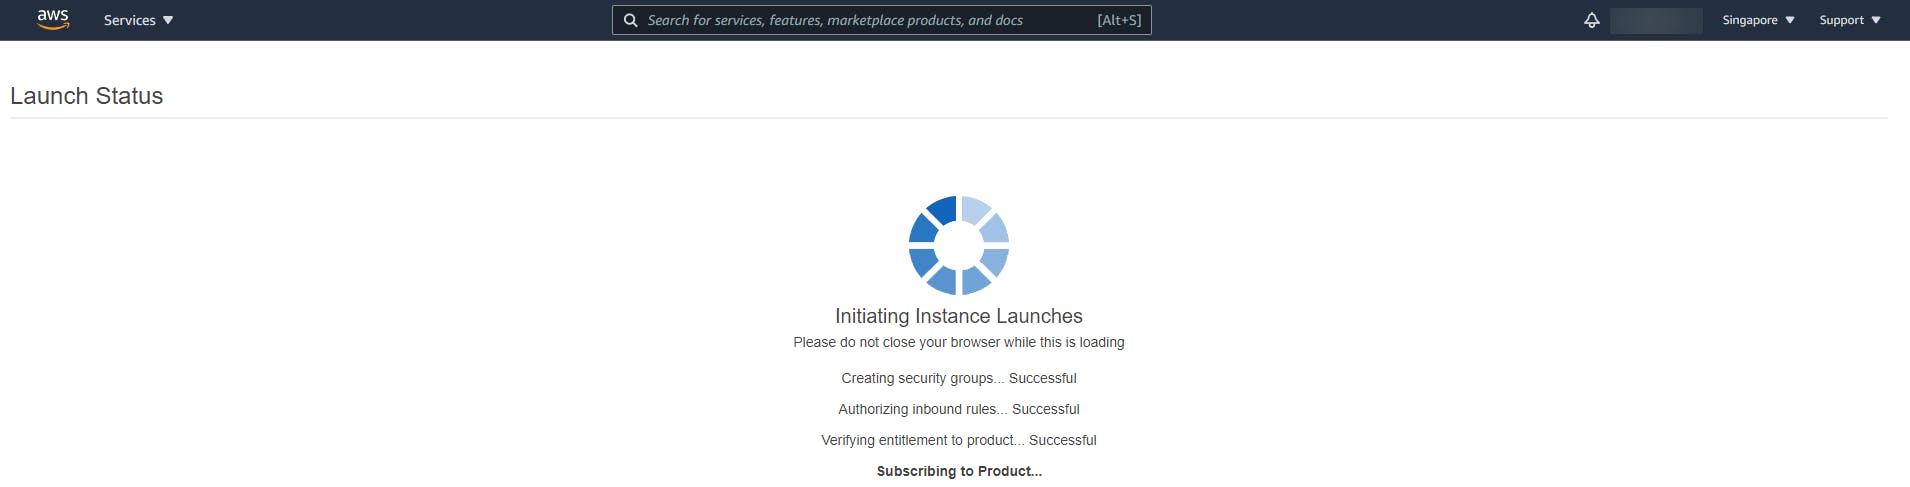
Once the Instance State turns to Running we are all set!
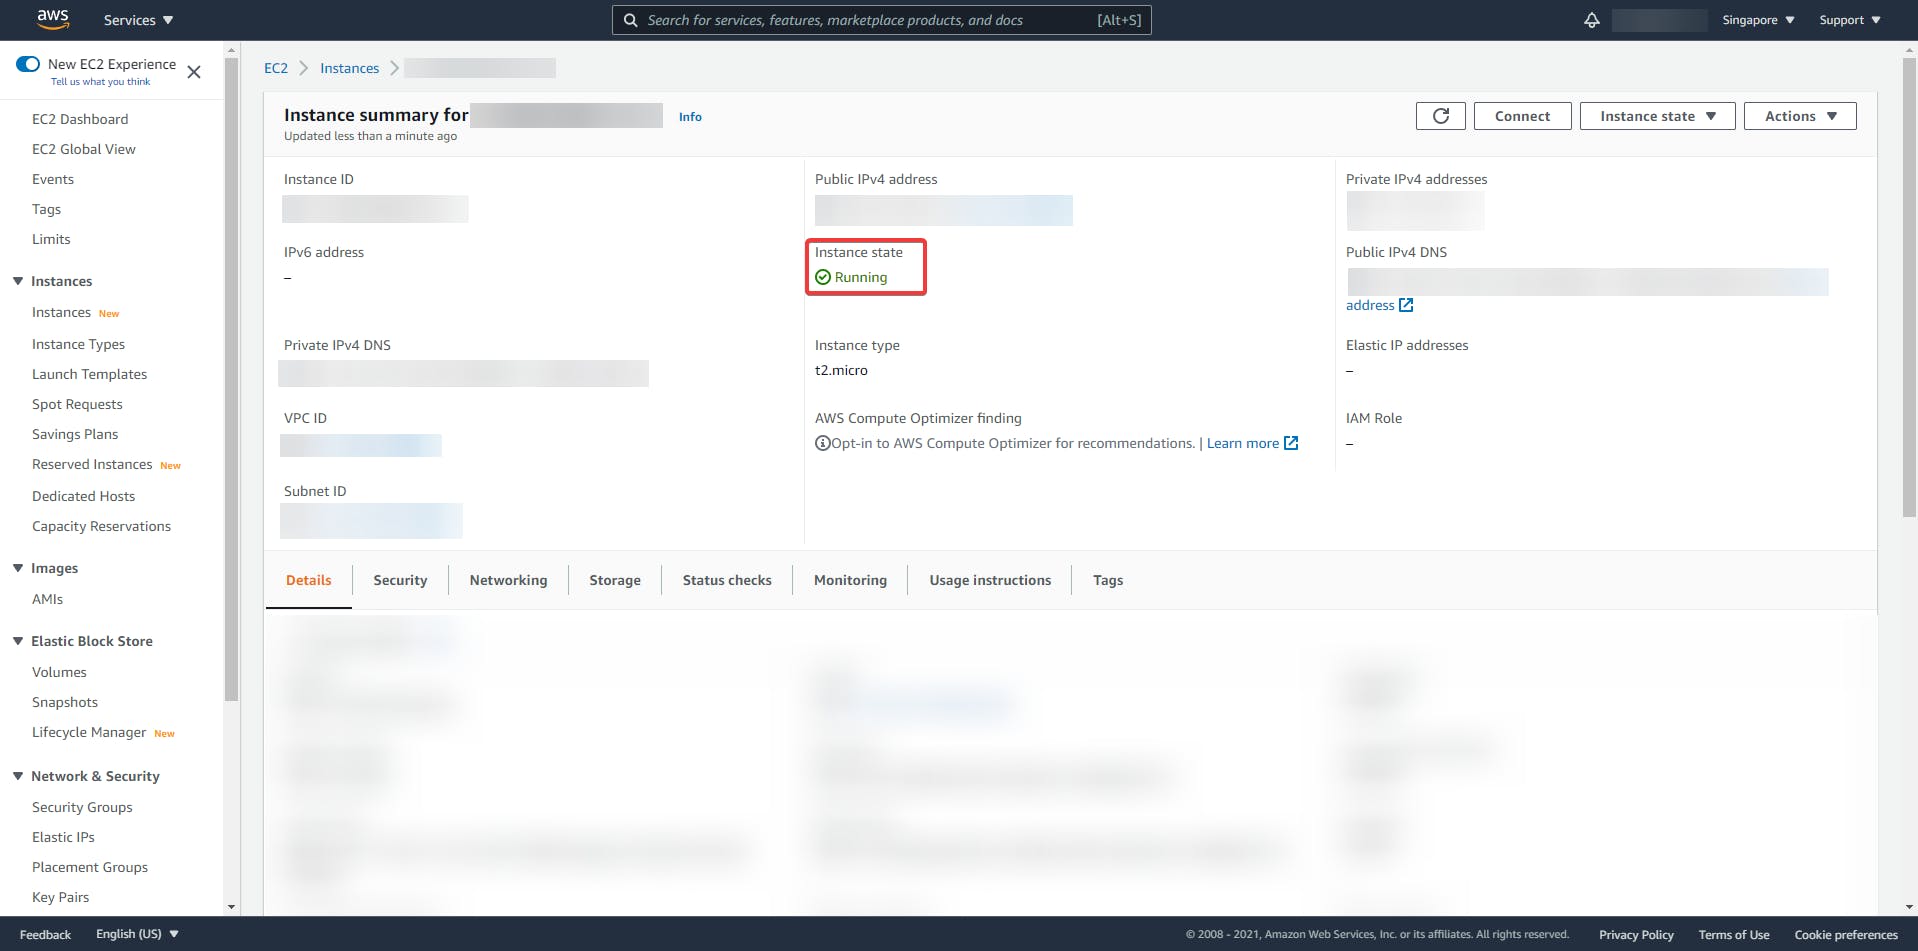
To verify that the system is up and running lets SSH into it.
ssh user@host -i cloudKali.pem

All good! we now have a kali Linux on the cloud for absolutely free!
VM Configuration
A GUI would definitely be better than a CLI for the use case! Let's go ahead and set up a desktop environment together with VNC so we can access this over the web or even a VNC viewer later on.
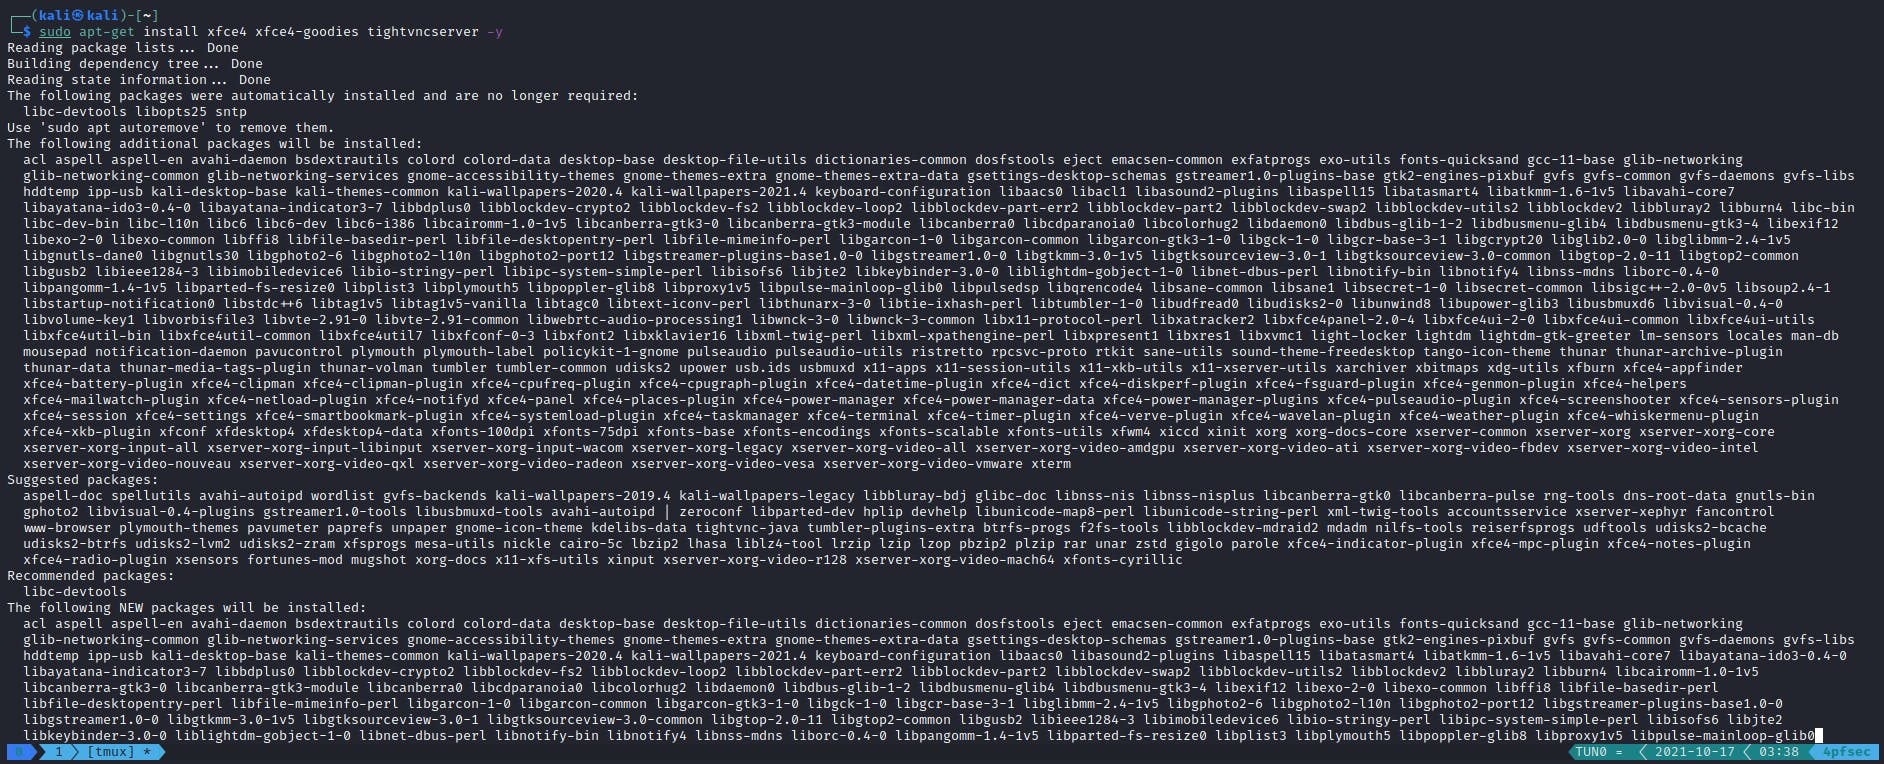
Let's go ahead and install XFCE and the VNC server.
┌──(kali㉿kali)-[~] └─$ sudo apt-get install xfce4 xfce4-goodies tightvncserver -y
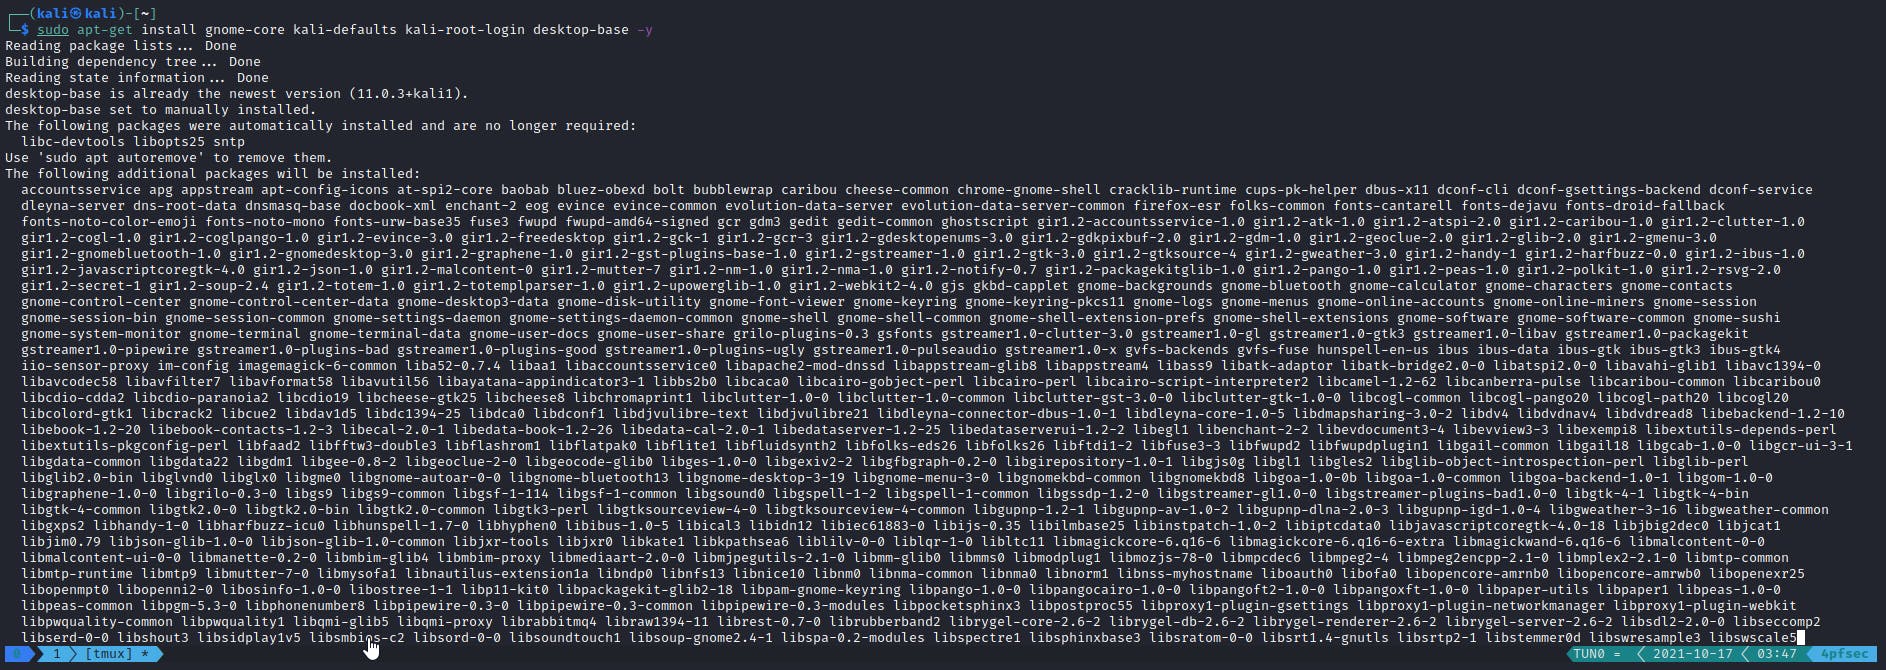
Once that's completed, let's install the desktop base.
┌──(kali㉿kali)-[~] └─$ sudo apt-get install gnome-core kali-defaults kali-root-login desktop-base -y
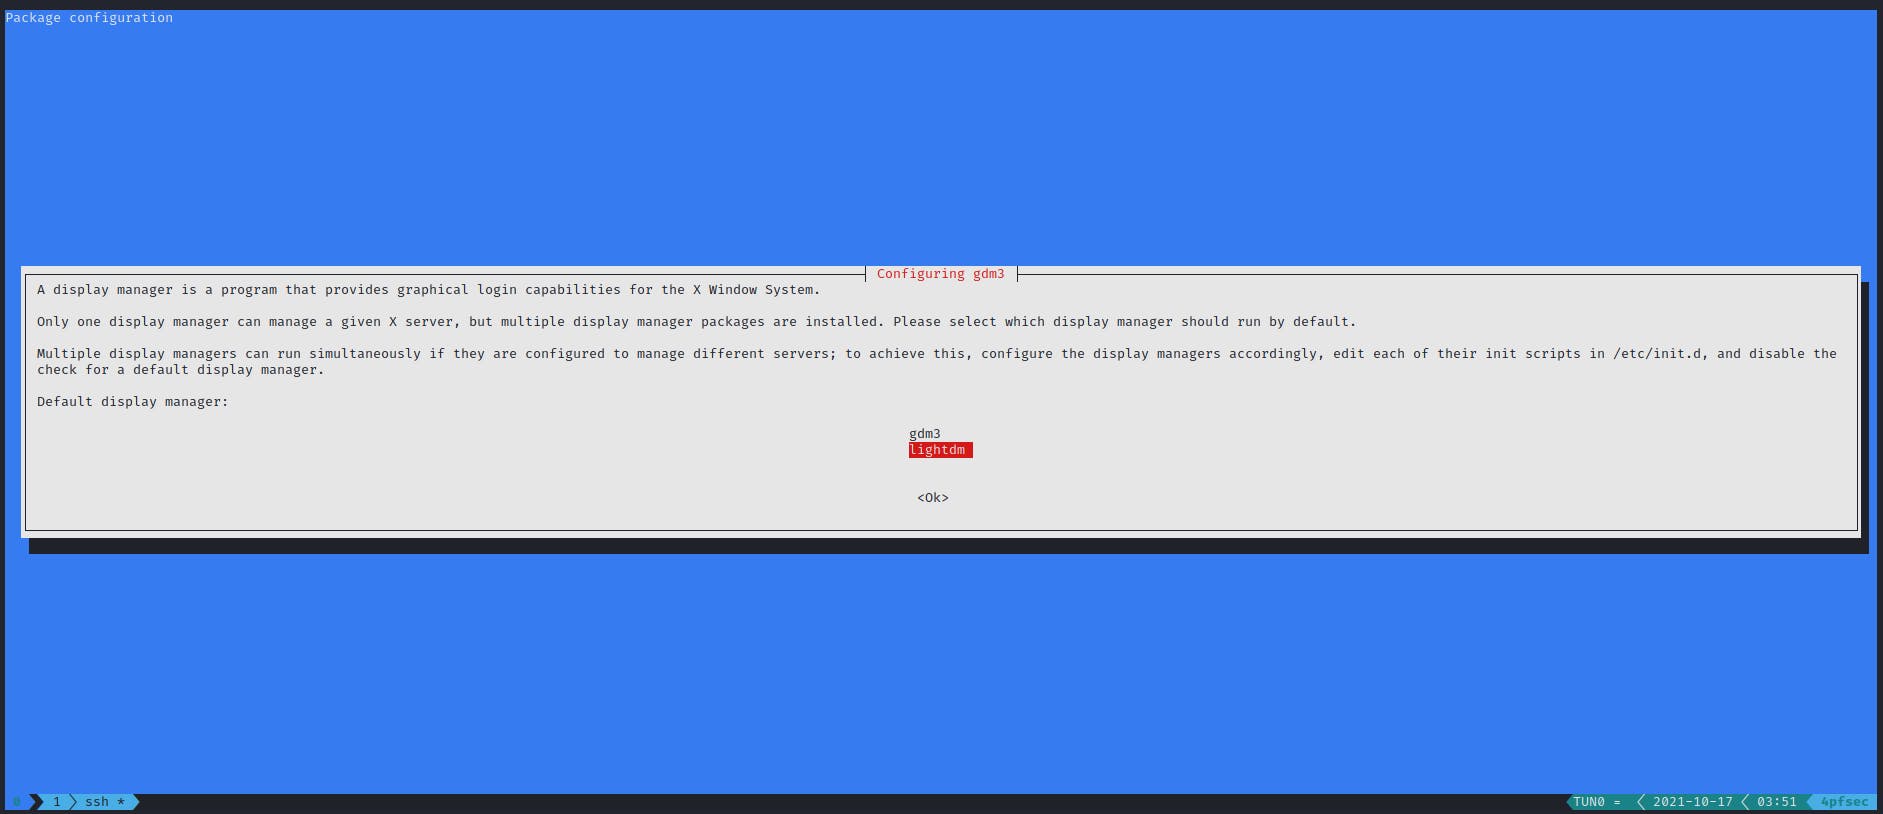
When prompted to configure gdm3, pick lightdm as the default display manager as shown below. As the name suggests, this is gonna be lighter on our system.
Now that that's done, let's configure the tightvncserver.
┌──(kali㉿kali)-[~] └─$ tightvncserver
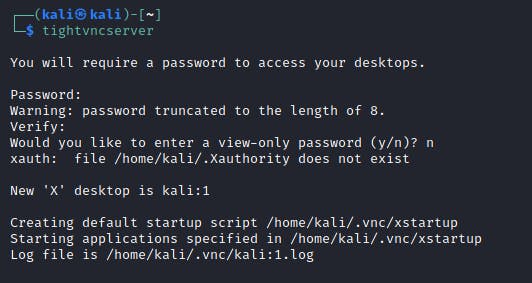
That's it. We're done configuring VNC and the GUI Desktop. Go ahead and onboard this VM to your favorite VNC viewers. I'll be onboarding it to my web-based VNC client that I have deployed on a proxy server. Once onboarded, you should be able to connect to the instance without any issues!
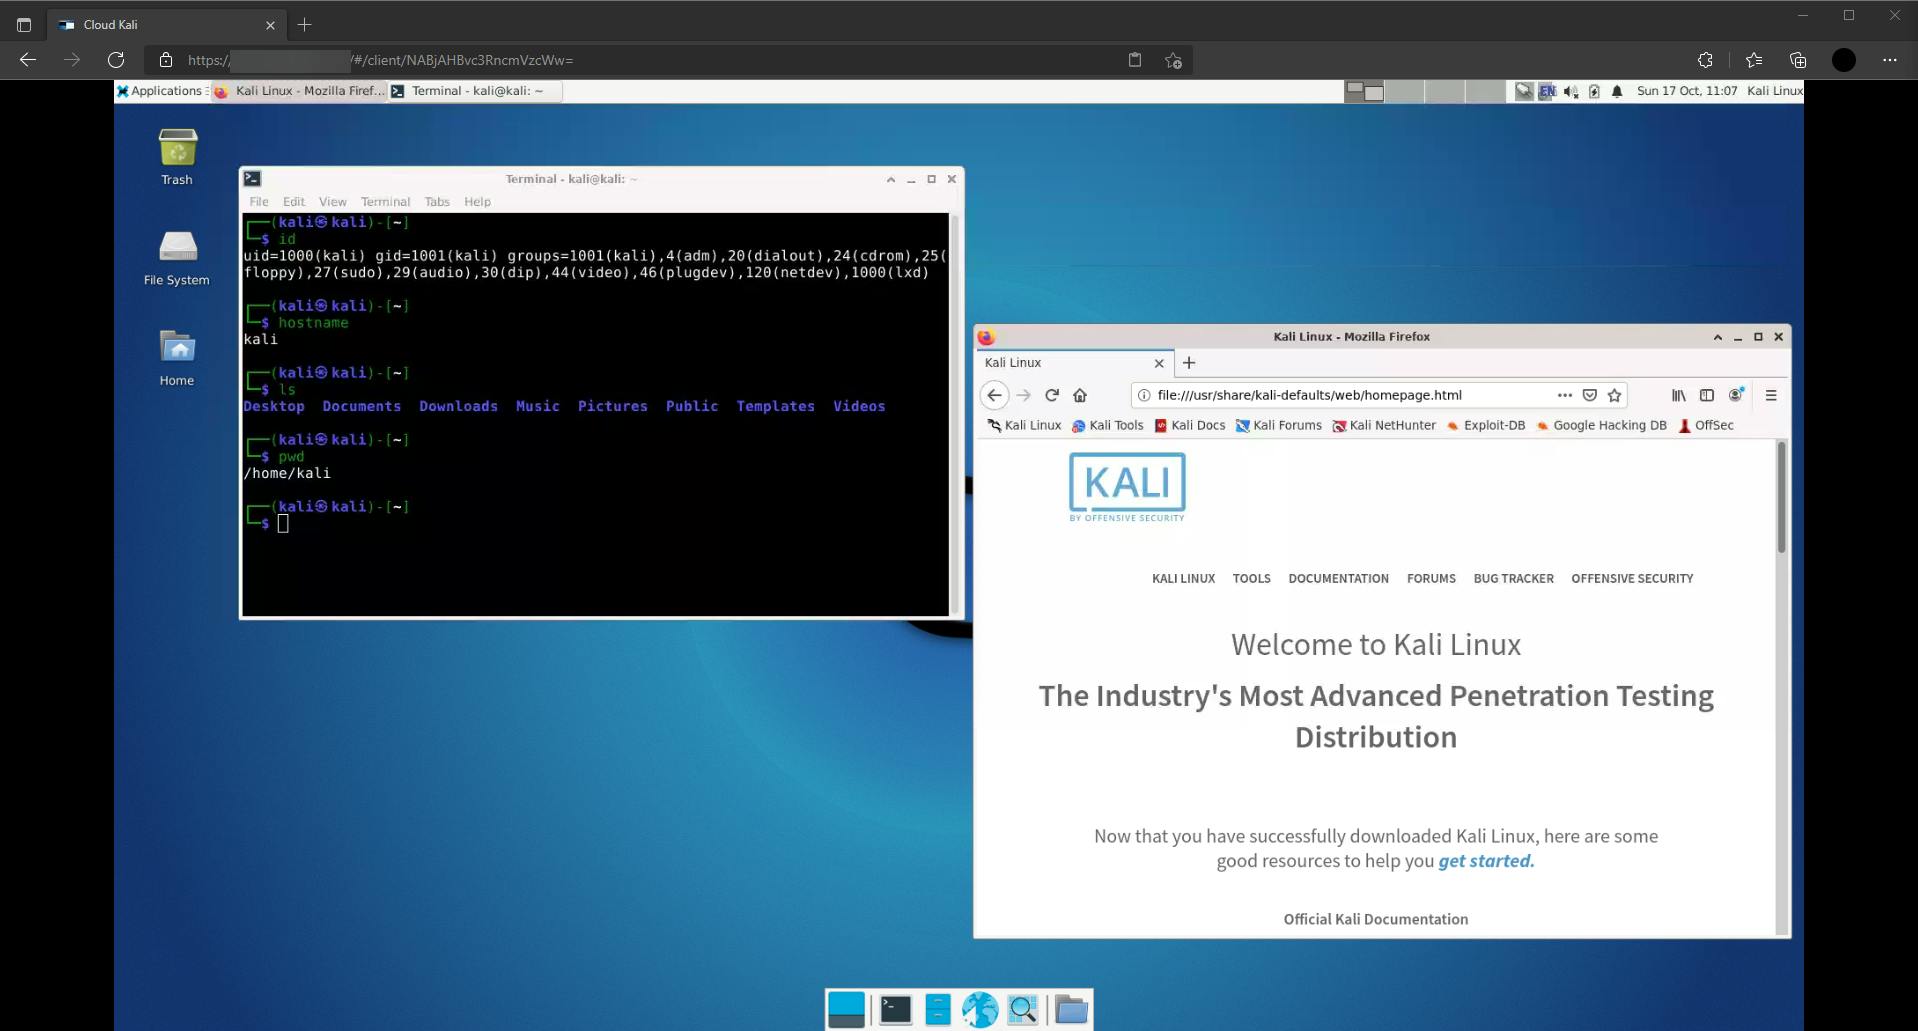
On PC
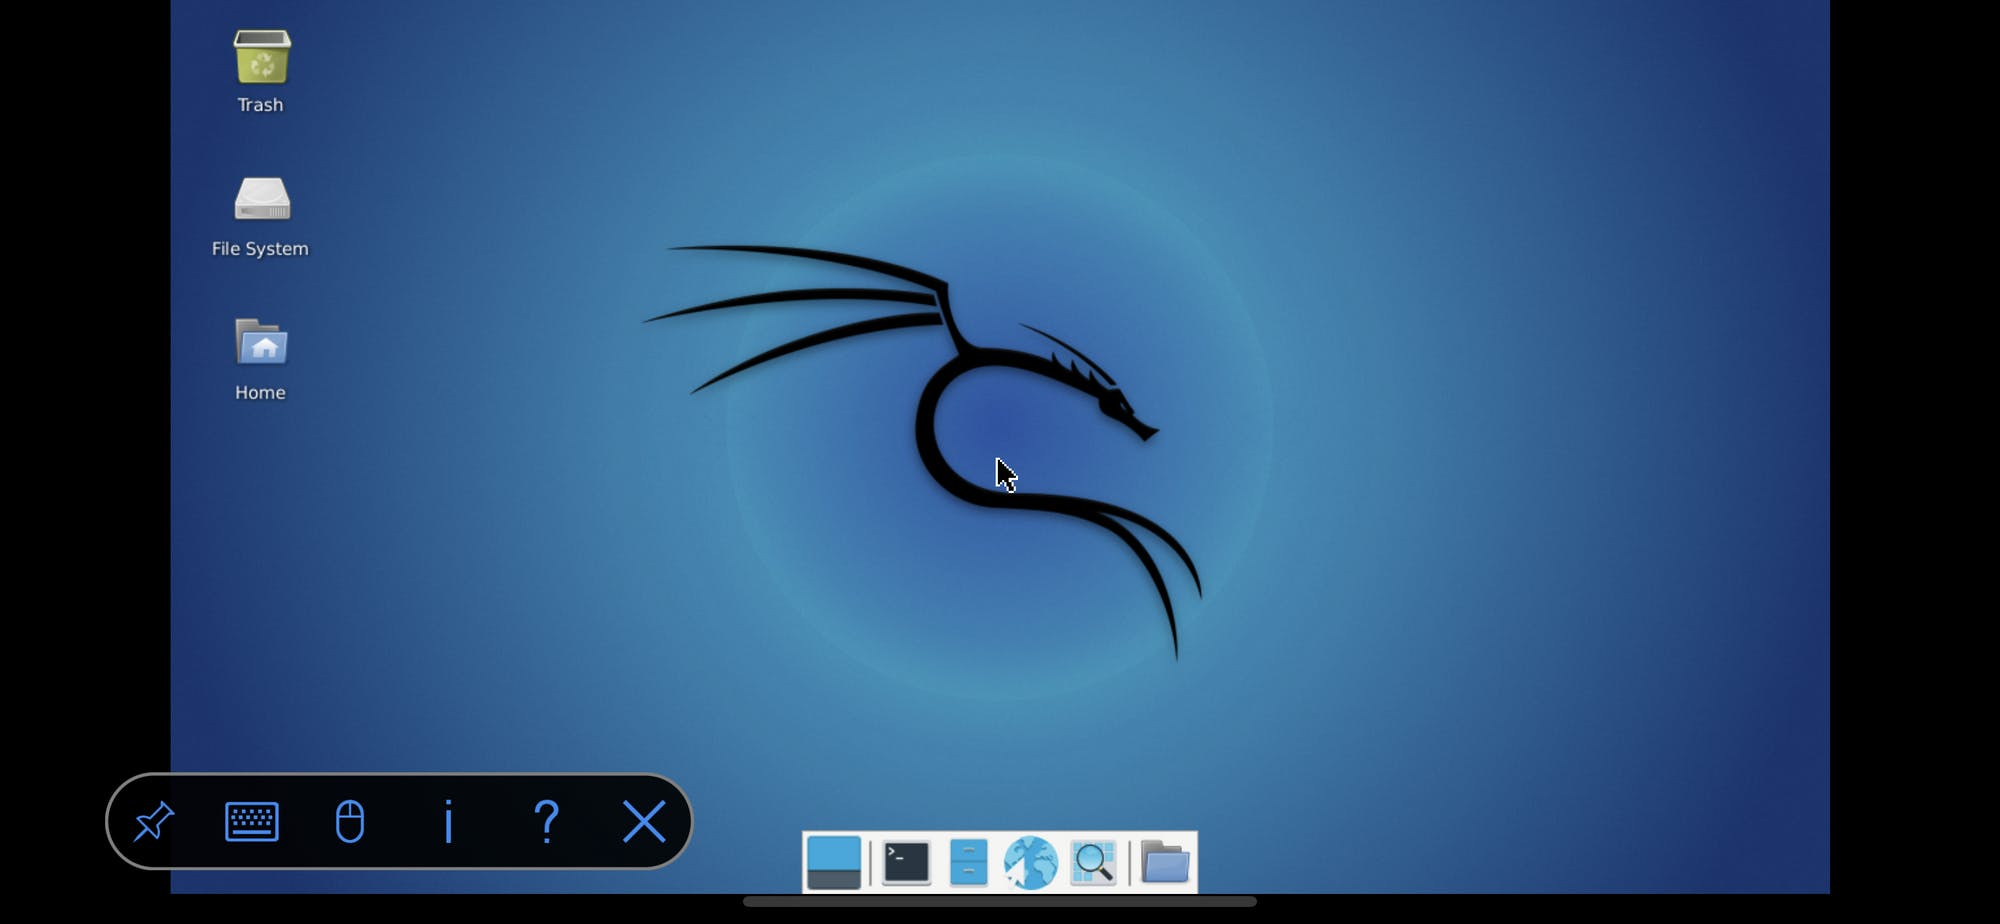
On Mobile
Pretty cool! Hope this helps someone out there :)