Build Your Own Botnet (BYOB)
You might've heard about BYOD, Bring Your Own Device. But this is BYOD, Build Your Own Botnet! The tech behind botnets and how black hats use them to take over an army of computers and proceed to use the endpoints to DDOS servers around the world was always fascinating to me. I've always wanted to tinker around with some kind of C2 server and be able to control endpoints, create payloads, execute them remotely..etc. When this opensource solution popped up in my radar, I knew I had to try it! So, here I am :)
Disclaimer
Even though I'm deploying this on one of my cloud servers, I intend to only use it on endpoints that I own. I'm documenting this for educational and recreational purposes only.
Installation
To start things of, I cloned the git rep of BYOB.
root@Nee-UServer:/opt# git clone https://github.com/malwaredllc/byob

Cloning into 'byob'...
remote: Enumerating objects: 15, done.
remote: Counting objects: 100% (15/15), done.
remote: Compressing objects: 100% (11/11), done.
remote: Total 5489 (delta 5), reused 10 (delta 3), pack-reused 5474
Receiving objects: 100% (5489/5489), 38.32 MiB | 9.20 MiB/s, done.
Resolving deltas: 100% (2264/2264), done.
Next, I moved into the web-gui directory and ran the startup.sh script to initialize BYOB.
root@Nee-UServer:/opt/byob/web-gui# ./startup.sh

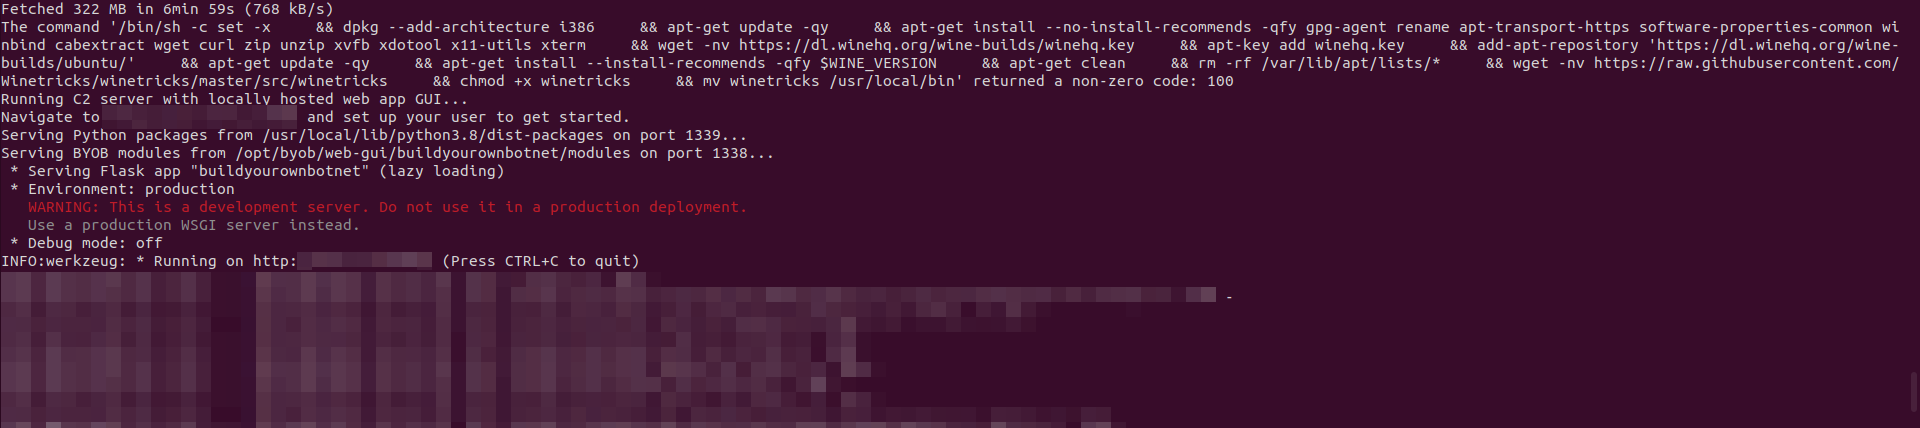
Once, the installation is completed, I headed to port 5000 on my server and was greeted with the login page!
Setup
Account creation was first on the list!
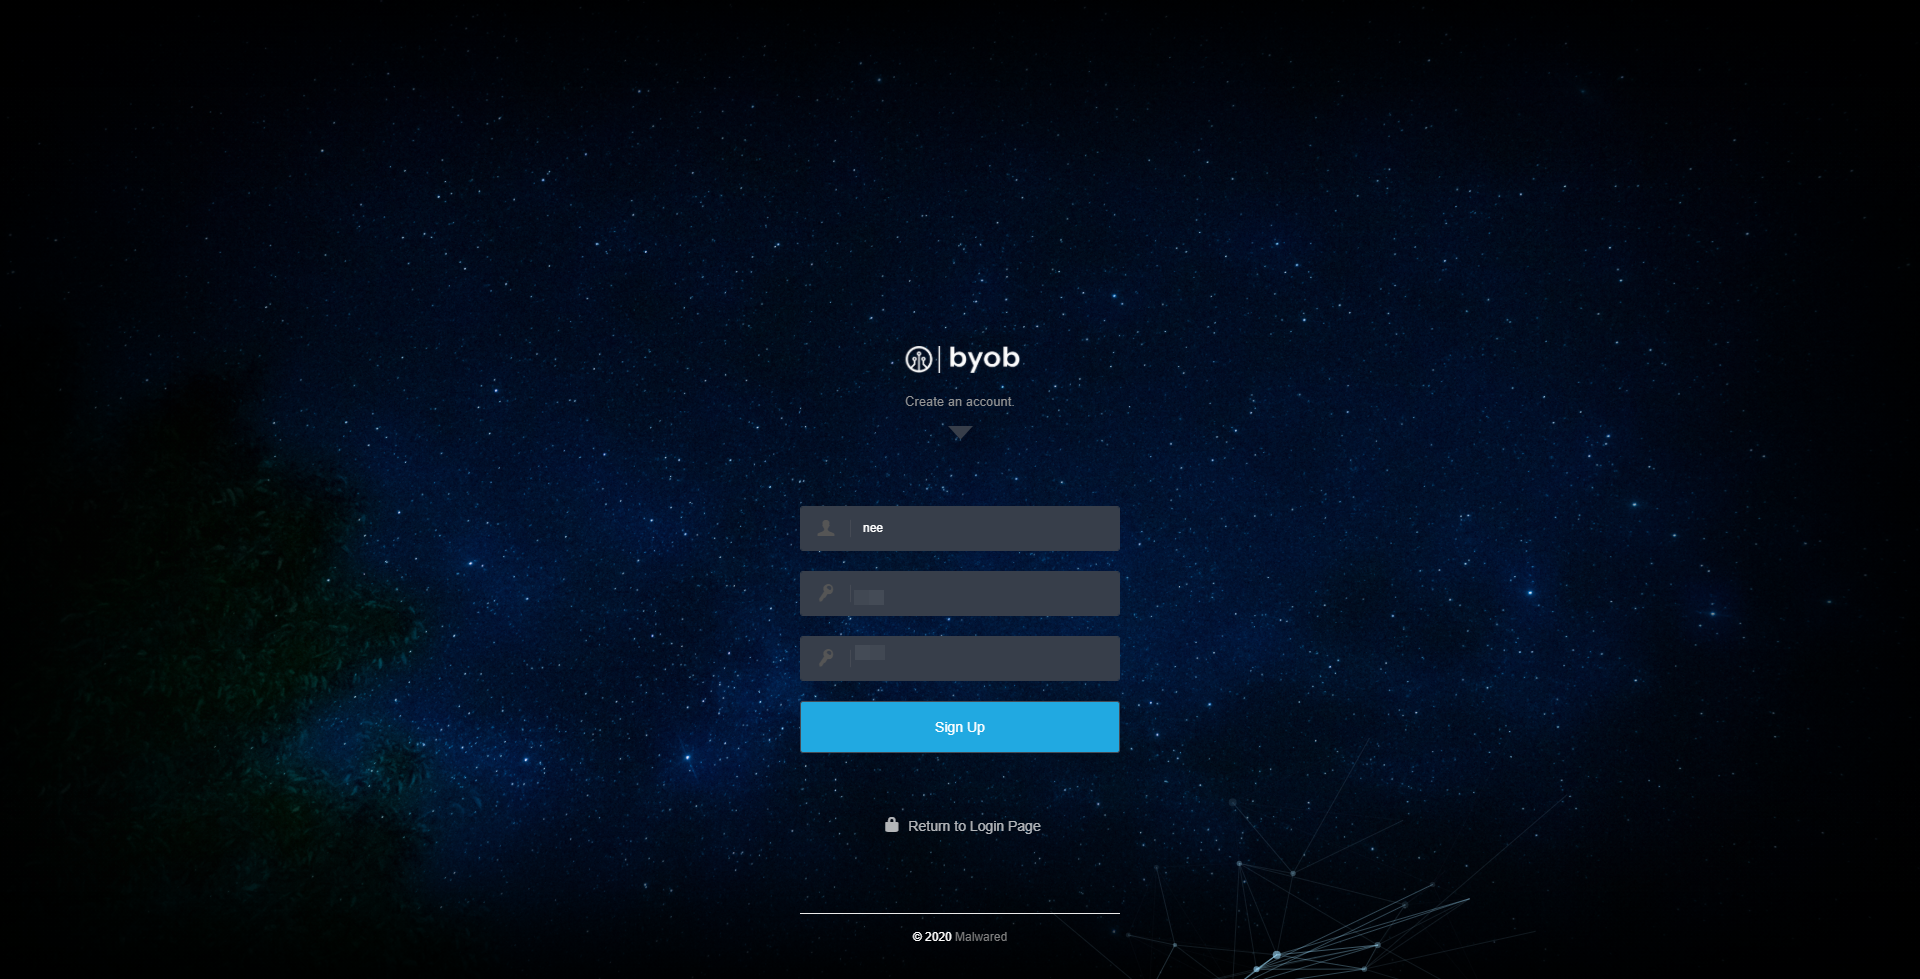
All I had to do was create an account and I was done with the setup. The devs did a great job and they really meant it when they said Zero configuration required.
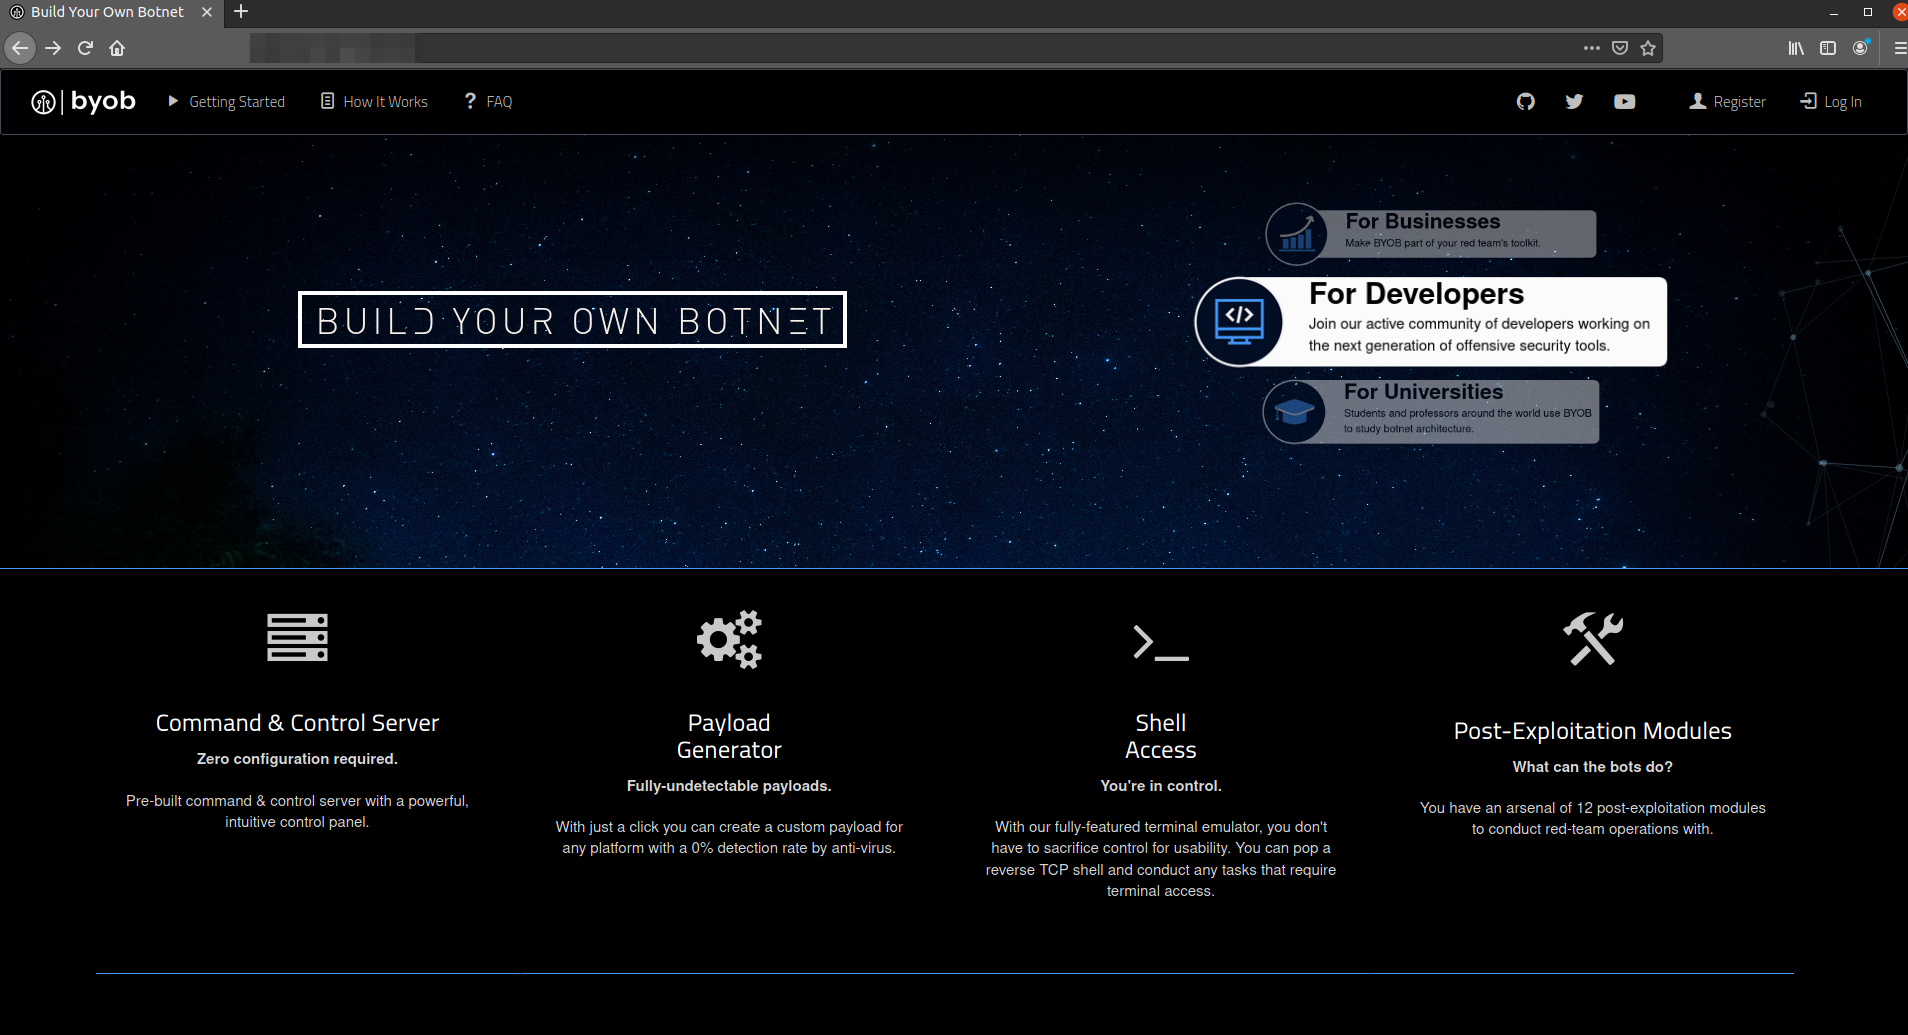
Platform
The BYOB platform was highly user friendly and easy to navigate.
Control Panel

Upon logon, I was greeted with the control panel page where I could mange all the devices that were reporting back to me. There was also a mini map which pointed out which region my endpoints were located at.
Payload Generation
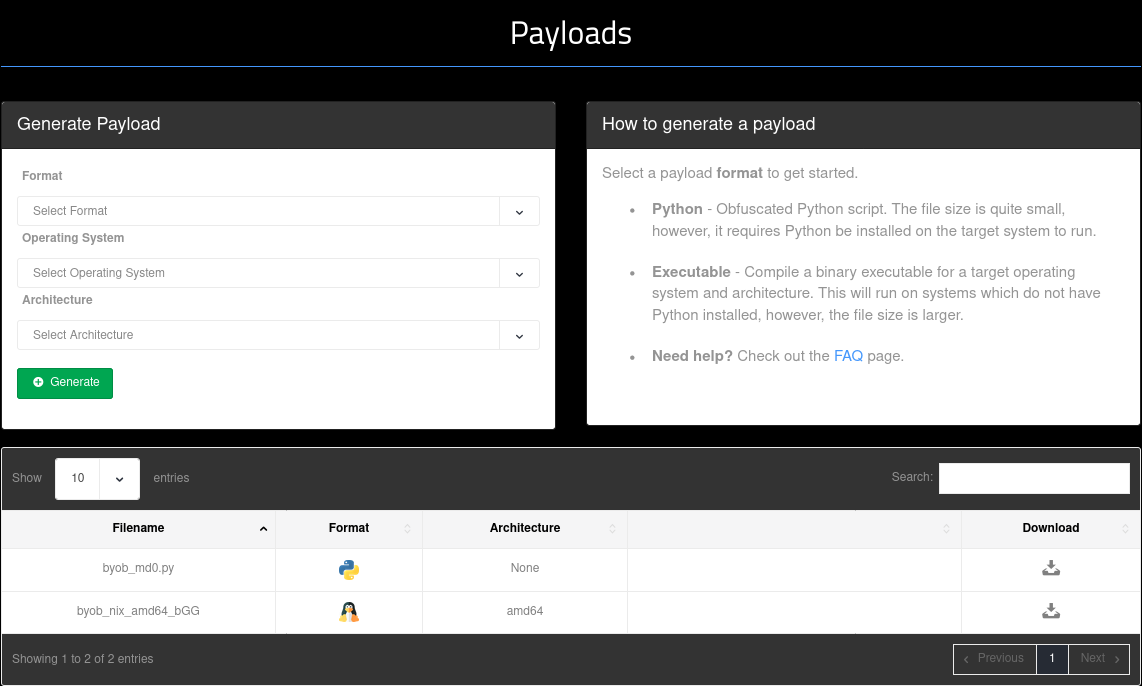
In the payloads section, I was able to pick and choose the type of payload I wanted to generate. I could select the format that I wanted my payload to be, my target machine's operating system and even the architecture.
I generated a python payload for my Windows server and another amd64 based one for my Linux cloud server without any issues. However, I had difficulties generating an executable for windows based machines which I decided to look into at a later date.
Files

There was also a files section on BYOB which I could use to exfiltrate files from the root FS of all the endpoints that I have on boarded. This would be useful if I were to be in a situation where I need access to files located in one of my servers. Everything can be controled from one point.
Post-Exploitation Modules
Lastly, the most interesting part of the whole build. This application has some really cool OOTB Post-Exploitation Modules. This feature was one of the main reason I deicded to take a look at this solution!
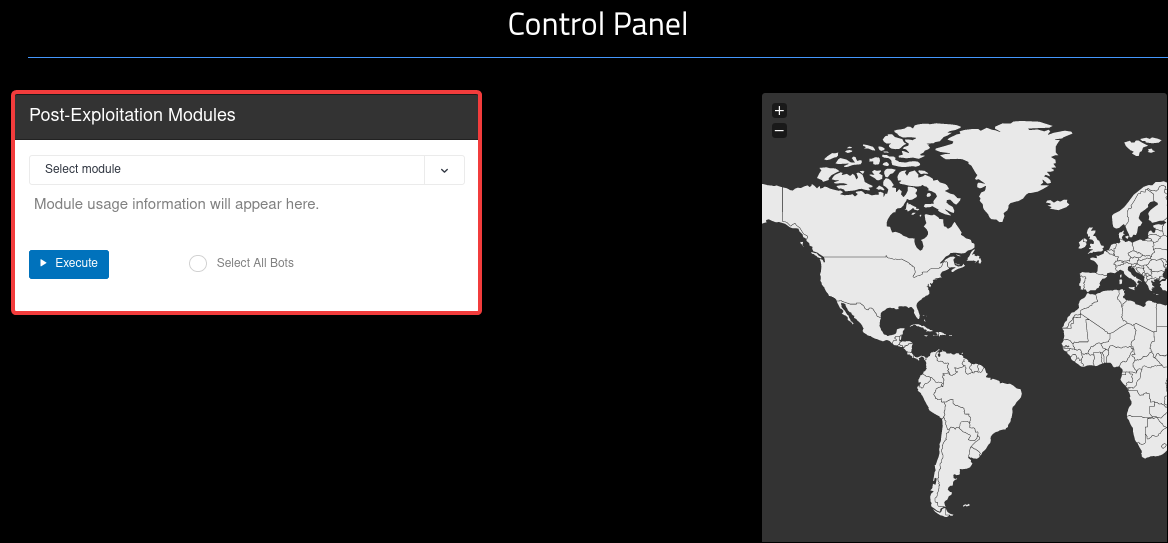
Any of these Post-Exploitation Modules can be executed remotely on any of the onboarded endpoints.
Persistence (byob.modules.persistence): establish persistence on the host machine using 5 different methods
Packet Sniffer (byob.modules.packetsniffer): run a packet sniffer on the host network & upload .pcap file
Escalate Privileges (byob.modules.escalate): attempt UAC bypass to gain unauthorized administrator privileges
Port Scanner (byob.modules.portscanner): scan the local network for other online devices & open ports
Keylogger (byob.modules.keylogger): logs the user’s keystrokes & the window name entered
Screenshot (byob.modules.screenshot): take a screenshot of current user’s desktop
Webcam (byob.modules.webcam): view a live stream or capture image/video from the webcam
Outlook (byob.modules.outlook): read/search/upload emails from the local Outlook client
Process Control (byob.modules.process): list/search/kill/monitor currently running processes on the host
iCloud (byob.modules.icloud): check for logged in iCloud account on macOS
Miner (byob.core.miner): mine Monero in the background using the built-in miner or XMRig
This turned out to be a great administration tool that I will definitely be using in the near future to manage all of my servers & endpoints!